
Recently, we built a Pick and Pack station inside Salesforce for one of our customers. We really believe in the potential value it can add to user interactions, which is why we’ve decided to share pieces of how this could work for your business. We’ve created two blog posts to explain how this works. It is also worth mentioning that this can integrate with any ERP system you may already be using on Salesforce.
In this first post, we’ll be discussing: UI, scanning barcodes and weights & scales.
- UI
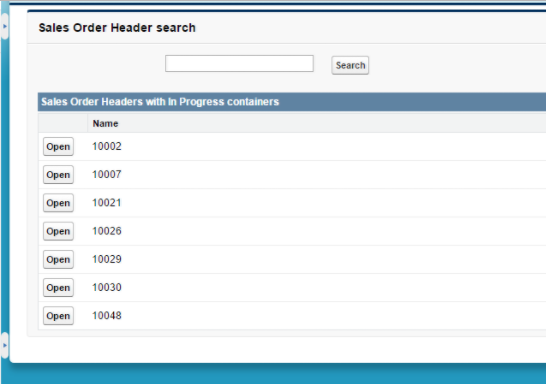
- We start by typing in a sales order number (custom object), or selecting a previously open one.
- Once on the ‘New Shipment’ screen, you can select the container size to use
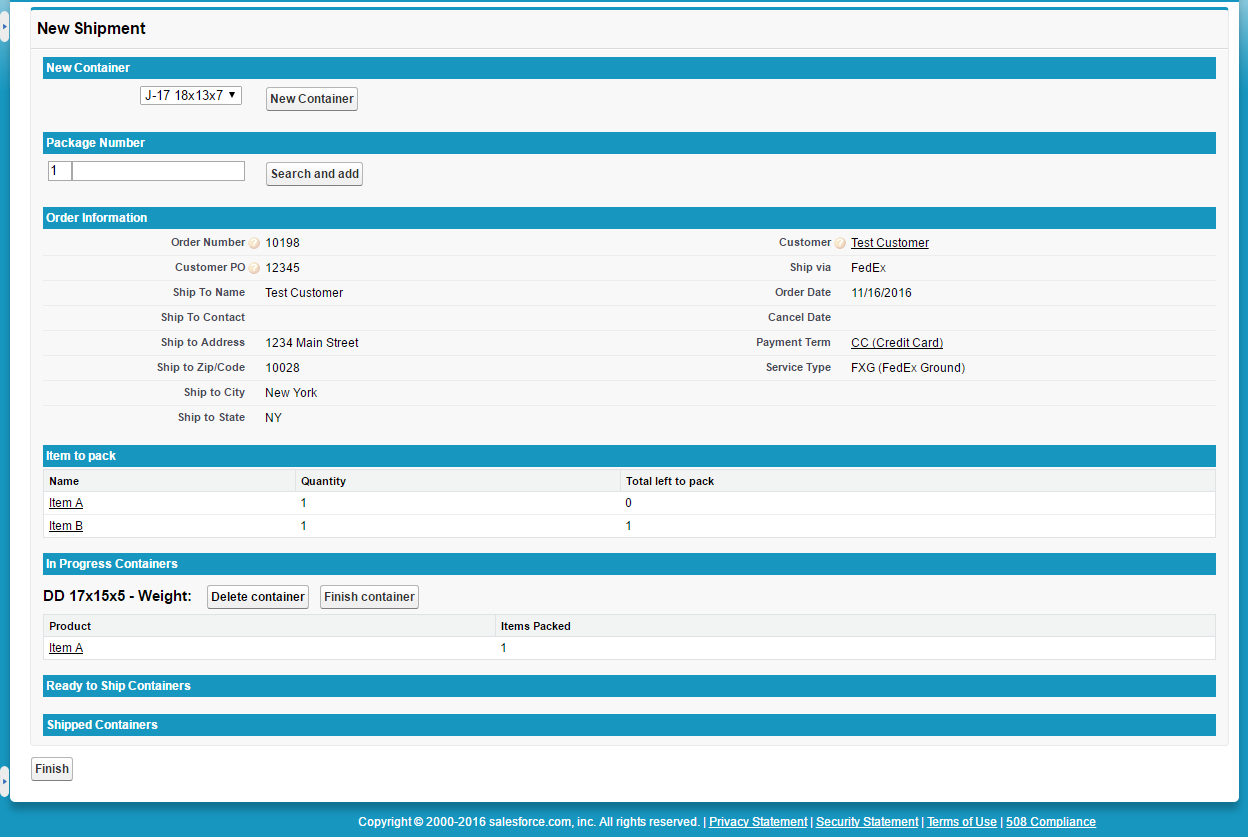
- You can then start adding the products to pack into the container using a barcode scanner. The barcode scanner extracts the text representation of the barcode and adds it to the input box. We then do a search for that custom field in the products list and confirm its the required product. Once satisfied that everything is in order, we add the product to the container, otherwise we show an error message to that effect.
- Each time an item is scanned (packed), the “Total left to pack” column in the “Item to pack” line gets automatically updated. In the screenshot below you can see that we have 1 container in progress and we have packed one of ‘Item A’ and one of ‘Item B’.
- The next step is to “Finish container”. This will get the weight of the container (from the scales connected via our desktop app) and create a packing slip in PDF format that list items in that container.
- Once the containers for that shipping session have been completed, the user is able to click the Finish button. This will take into account all the shipping options such as the Service Type (Ground, Next Day Air etc etc), the weight of the containers and the dimensions, and will generate the correct shipping label.
- Implementing Scanning Barcodes
-
- We used the javascript below, which is a combination of a few implementations, to help us with barcode scanning. We tested around 10 different libraries and found that the one we chose worked the best across a multitude of devices.
- Weights & Scales
-
- We have a separate interface for connecting your scales to your salesforce instance. Very similar to the standard printing management screens. It’s an API call to our desktop app that allows us to get the raw weight from the USB device that we then use to add to the shipment container.
In next week’s post, we’ll be discussing how you can create custom labels and auto print shipping labels in Salesforce®.